🧭 Overview
Color: ⚫
Competitiveness: 🔥🔥🔥🔥
Difficulty: 🧠🧠
Type: 🏹
Tempo: 🦅
🎯 Strategy
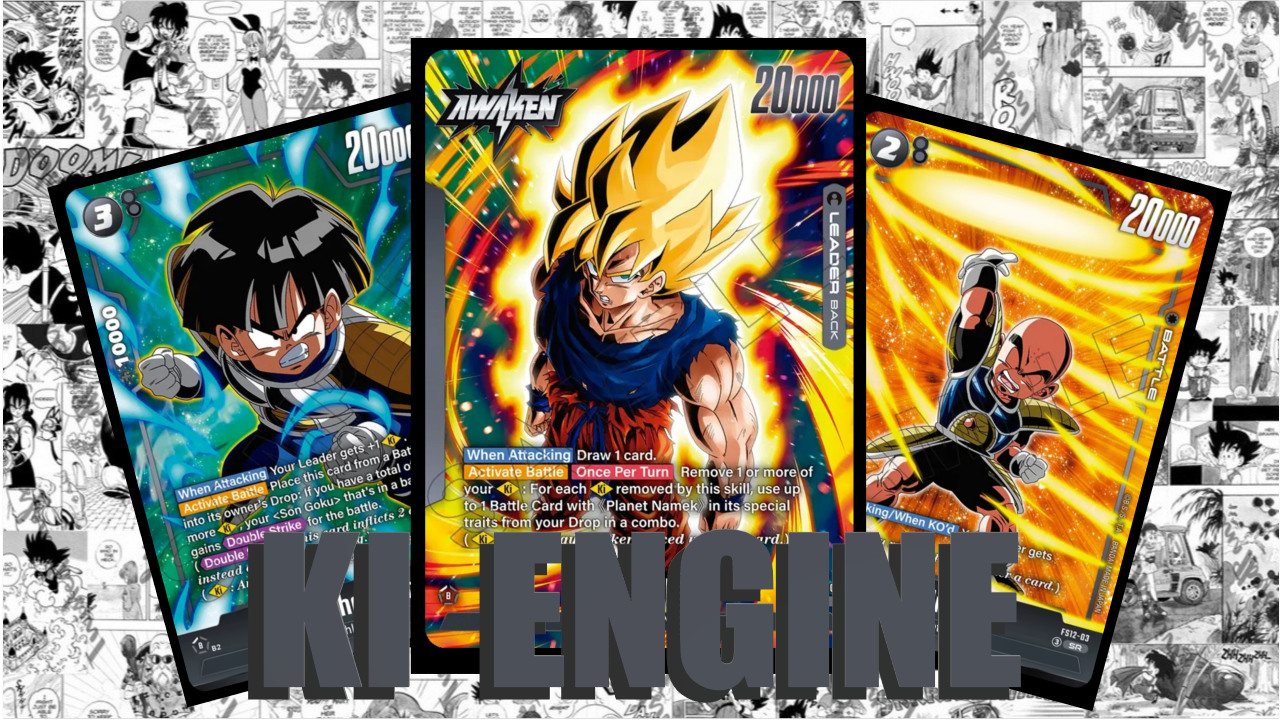
Playing with this leader is a balancing act of Ki juggling, the extent of which depends heavily on the length of the match. In shorter games, it’s hardly necessary, but in prolonged matches, it becomes a massive factor. This is because the entire archetype is built around the number 3. If you have at least 3 Ki, you can use all your cards freely. Beyond that, it's up to you whether to constantly spend Ki for combos to gain a temporary advantage (gravitating back toward 3) or to hoard it for a final all-in push, which can translate into a +100k combo boost. Ideally, every Ki spent grants a 10k combo boost since you can fire off a card from the drop (where 10k is the ceiling). However, it’s important to note that the drop must meet the requirements: if you spend 10 Ki, you need at least ten 10k combo cards in your drop to maximize the effect.
While there is nuance in the late game, getting there is a simple and linear process. Early on, you definitely want to acquire 2 Ki to trigger Awakening. This grants you the third Ki, which opens up the world for you. Your best option for this is Krillin, who can often fulfill this condition on his own.
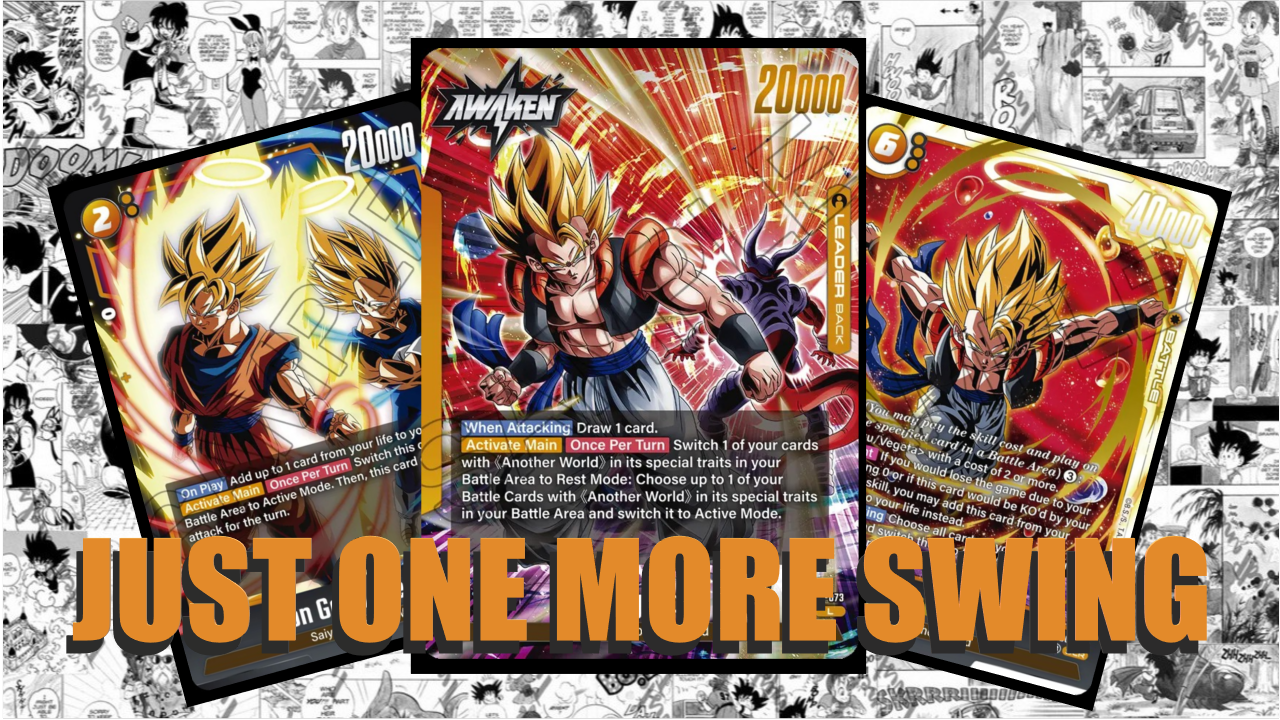
After Awakening, you gain access to your two strongest cards. One helps in gaining an advantage: the 7c Goku hits massive numbers with critical, which is likely to remain undefended, leading to card advantage over the game. The other is the extra, which removes almost anything for just 1 energy, which is unparalleled in this sense. If you get into deep trouble, Goku: GT is there to handle many small cards if necessary.
You generally want to finish the game with Gohan, who also functions only if you have at least 3 Ki when played. He grants double strike to any Goku (even the leader), which is usually fatal due to the accumulated Ki.
⚠️ Challenges
The deck only has two cards capable of directly handling the opponent's battle cards. Among these, the extra can only handle a single card, while Goku: GT can deal with wide boards of small cards, but you may have to sacrifice your gathered Ki to use him. Furthermore, he costs 4 energy, and since this isn't a marker-based deck, you actually have to pay the full 4. Until then, you are quite vulnerable, thus, it is difficult to face very aggressive decks or opponents who launch many attacks in a single turn. This applies to the leader ability as well: even if you have 10 Ki saved up, you can stop one all-in hit, but since you can only use it once per turn, many small hits will simply pull your poison fangs.
The other issue is that, except for the big Goku, this is an old-school deck regarding costs. You will typically play 2-4 cost cards, which even older decks can easily clear with extras and effects. Consequently, your cards are more vulnerable than average.
🧱 Core Cards
FS12-03 Krillin – The best Ki collector in the deck.
FS12-17 Legendary Warrior – Perhaps the best removal in the game.
FS12-09 Gohan – A very flexible finisher.
FS12-07 Goku – A statistical beast.
💡 Tips
It’s worth using the energy marker in the very first turn if you don’t have Guru in hand.
Treat every Ki as being worth +1 card, this is the best way to understand Piccolo's role as well.
Gohan isn't just for finishing; placing him on a critical Goku can cause immense destruction.
Treat the promo Goku as costing 5 energy, because in most cases, you want to use him to pull back the extra.
Bardock works perfectly with Ki, you don't need to combo from hand or board for him.
Pay attention to the 2c Goku: he works differently than the others, as he looks for 5k cards in the drop.
At 3 life, if you play Gohan and want to end the game, feel free to combo almost your entire hand, or at least enough to fill the drop size to match your Ki. At the finisher stage, the leader’s Ki is essentially your second hand.
⚙️ Fine-Tuning
Additional Cards
FB06-097 Gogeta SR – Very good in prolonged games, especially against yellow.
FS12-08 Gohan – A perfectly fine 5k combo option.
FS12-10 Dende – Hard to use his ability, but great when it works. It goes on promo Goku without extra cost (though price prevents it same-turn), and on big Goku if Guru put Ki on him.
FS12-02 Krillin – In a world where they leave your board alone, he is one of the best cards in the deck.
Ratio Adjustments
FS12-07 Goku – You don't necessarily need 4 copies if you don't always want to play him on turn 3.
FB09-100 Goku: GT – Number can be reduced depending on the meta.
📈 Meta
FB09-100 Goku: GT – Handles the wide board, for which we currently have no other option.
🎥 Gameplay
Digital
FB09
Free
085533cf-4488-4a10-b469-25e4a51c8f83 - ss3ku; gold
574d8051-0625-4cea-a0e0-5518d6dd1382 - kinameku; gold
f0c3b9da-71bc-4bef-b64b-2addec1f29ff - muiku; platinum (youtube)
80710b03-8bee-471e-87d6-2e04b794b450 - brogeta; platinum (youtube)
bdf46a82-f16f-49e9-bdd7-11350718c6aa - kinameku; platinum (youtube)
Ranked
c7294478-ebbb-4ccb-89c0-577bcaaf2eae - ss3ku; god (youtube)
bc33127d-264e-4c0c-ab1e-bc2fdeac3bae - beerus; master
a4ca2199-aee1-4c4e-9886-ec44d0858630 - brogeta; god (youtube)
Youtube
📃 List
💬 Personal Notes
This nameku was top 2 on my hype list before release, even though I had tested it beforehand. Despite that, it remained under my radar, and I never truly tested it seriously until writing this guide.
Unfortunately, it turned out to be a disappointment. It inherits all the illnesses that I feel are common among the FB09 Ki leaders. New mechanics often start with a simpler, slightly dumber approach, but I thought the flexible Ki usage would make this deck an exception. By the time I got to testing, it was clear it wouldn't be. There are few real decisions to be made in-game, and flexibility is low. It’s a deck built on raw power and numbers at a set tempo. Even though my heart pulls toward all namekus, this variant couldn't capture my interest.
🔑 Legend
Icons
Type: 🗡️ Aggro | 🏹 Midrange | 🛡️ Control | 🔗 Combo
Tempo: 🐌 Slow | 🐇 Medium | 🦅 Fast
Difficulty
🧠: Beginner-friendly, perfect even for your first game.
🧠🧠: Easy; requires attention to a few small details, but follows a simple and clean strategy.
🧠🧠🧠: Requires learning, but becomes routine after sufficient practice.
🧠🧠🧠🧠: Requires a deep knowledge of both your own deck and the opponent's; demands situation-dependent decision-making.
🧠🧠🧠🧠🧠: Demands perfect play in both decision-making and execution through complex sequences.
Competitiveness
🔥: Unplayable; does not perform under any circumstances.
🔥🔥: Underperforms; highly dependent on favorable circumstances.
🔥🔥🔥: Performs well; perfect for casual play, but at a clear disadvantage against dominant decks.
🔥🔥🔥🔥: Suitable for competitive play; in theory, a skilled player can hold their own against anything.
🔥🔥🔥🔥🔥: Dominant; a typical "boogeyman" deck that everyone hates to face.
Glossary
Aggro: A strategy that ignores the opponent's game plan with the goal of ending the match as quickly as possible, in this case through relentless attacks.
Midrange: A strategy that seeks a middle ground, attempting to balance the tempo. It tries to slow down fast decks and outpace slow decks. Board control is a vital tool here.
Control: A strategy entirely focused on neutralizing the opponent's plays. It settles in for a long, slow game where the goal is to bleed the opponent out of resources.
Combo: A strategy that aims to win (or at least cause a radical shift in the game state) through the synergy of specific cards, often appearing to come out of nowhere. The goal is to gather the necessary components and fulfill the prerequisites as quickly as possible.