🧭 Overview
Color: 🟡
Competitiveness: 🔥🔥🔥🔥🔥
Difficulty: 🧠🧠🧠
Type: 🗡️
Tempo: 🦅
🎯 Strategy
We are dealing with an exceptionally flexible and explosive aggro deck. The fundamental pillar is the Leader, which essentially allows us to manage +2 energy every turn, provided our sequence is correct. Additionally, the wide card pool is a major asset,since we can choose from more cards than average due to the combination of the starter deck and the set.
Our strategy remains largely the same throughout the game. There is no need to focus heavily on awakening, as it happens naturally, and there are no major differences in our methods between the early and late game. Although the evolve mechanic requires us to play more cards in a given turn than we otherwise would, the fact that almost all our cards draw or search doesn't just compensate for this, it ensures we have a massive hand by the time we awaken.
Essentially, throughout the entire game, we attack the opponent's leader with everything. We handle the board with extras and card effects, with very few exceptions. If we are certain the opponent cannot handle our large cards, we can leave them standing early on, but in most cases, we should activate everything, as most decks are now capable of clearing almost any board.
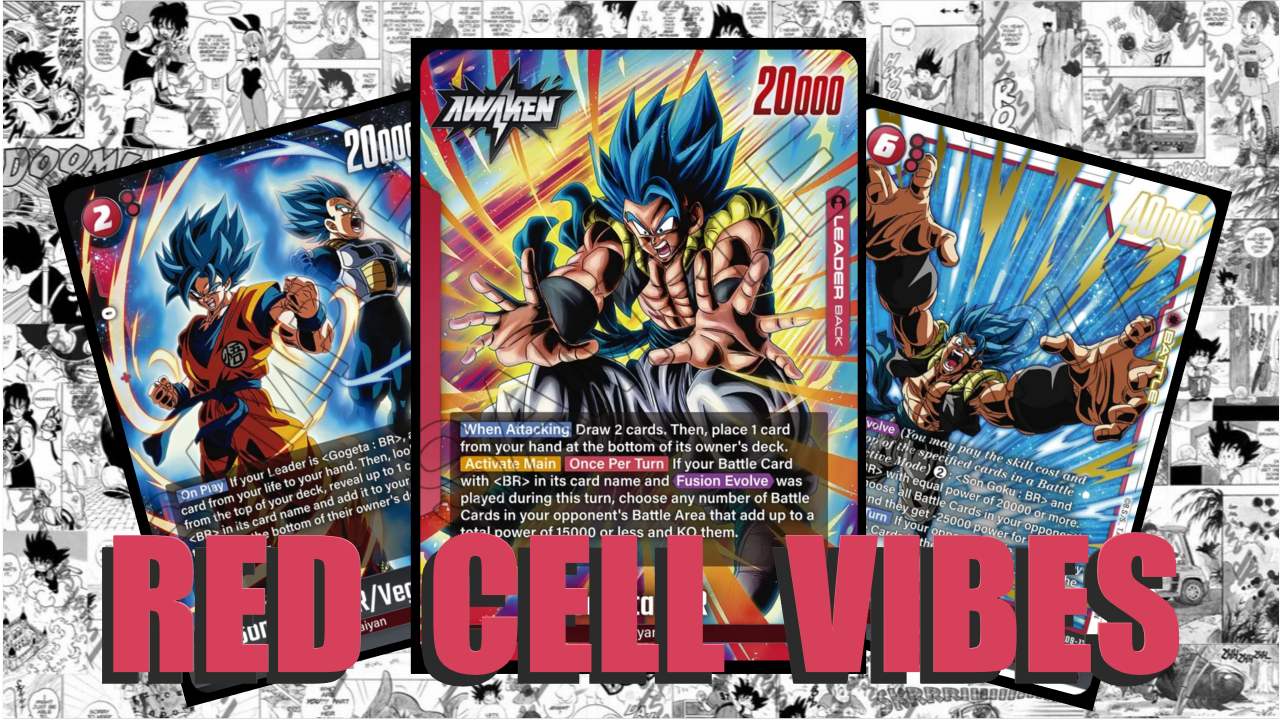
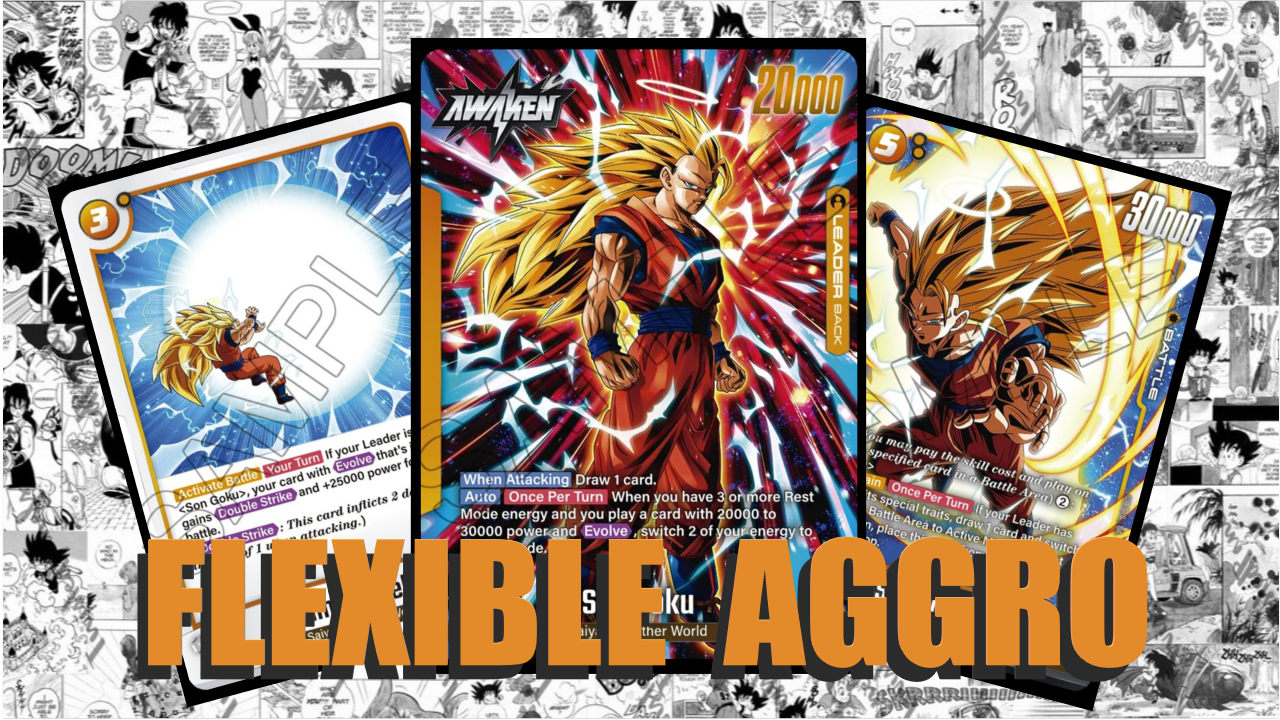
We can finish the game in two ways. One is the Kamehameha, which can execute the opponent from 2 life. The other is the traditional yellow multi-attack maneuver. In both cases, correct comboing is vital: utilize your large hand and burn through the opponent's resources. Our big Goku is extremely useful in both scenarios. Starting from 4 energy, we can finish an opponent even from an empty board if we managed to bring them down to 2 life in the meantime.
⚠️ Challenges
This deck perhaps contains the most 0 combo cards in the current meta. There are 18 in this build, and I think it’s impossible to go below 14. Consequently, survival is not the deck's strength. This is mitigated by the fact that it is an aggro deck, so we don't want to drag the game out, but an opponent who consistently attacks our Leader can cause problems if they survive long enough.
🧱 Core Cards
FS11-07 Goku – The most dangerous card. 2x30k attacks while drawing a card, essentially costing only 3 energy. In return, he only stays on the board for one turn, but in the current meta, this isn't a significant loss.
FS11-14 Vegeta – Can essentially come down for 2 energy and removes cards up to 5-cost while drawing a card. He is useful throughout the entire game because he is cheaper than Goku.
💡 Tips
If you have the extra in hand, calculate your attacks so that you have 3 energy and 1 attack left for the execution. In light of this, it’s worth comboing for every other attack.
Note that you don't just need to spend three energy total to activate the leader ability. You won't trigger the leader ability if you don't play an evolve card at the right time. If you want to play a cheaper evolve card (which doesn't cost 3 energy total), play a 1-cost card first.
If you're on 5 life, you can't activate your leader ability by playing an evolve card with life taking. You need to awaken first, then play the evolve card to trigger.
You don't have to use the evolve mechanism to fulfill the conditions. It is enough if the card has "Evolve" written on it. Therefore, Gohan fulfills the condition on his own given you've already spent 1 energy.
If possible, it’s worth leaving 1 energy at the end of the turn for Results of Training, even if you don't have it in hand, to deceive your opponent.
⚙️ Fine-Tuning
Additional Cards
Gogeta Package: You can cheat out the SCR using 4 energy. This requires the 2c Goku/Vegeta, then Veku on top (which brings out a 1c), then a 1-cost evolve on top of that, leaving three energy for Gogeta.
FB09-091 Veku: Does not activate the ability on his own, but provides a free card.
FP-073 Vegeta: If evolved onto, you get an active card.
FB09-122 Gogeta: Helps with survival if you are playing a slightly slower game.
Other Another World:
FB09-093 Vegeta: Only freezes and doesn't draw, but has 10k combo power.
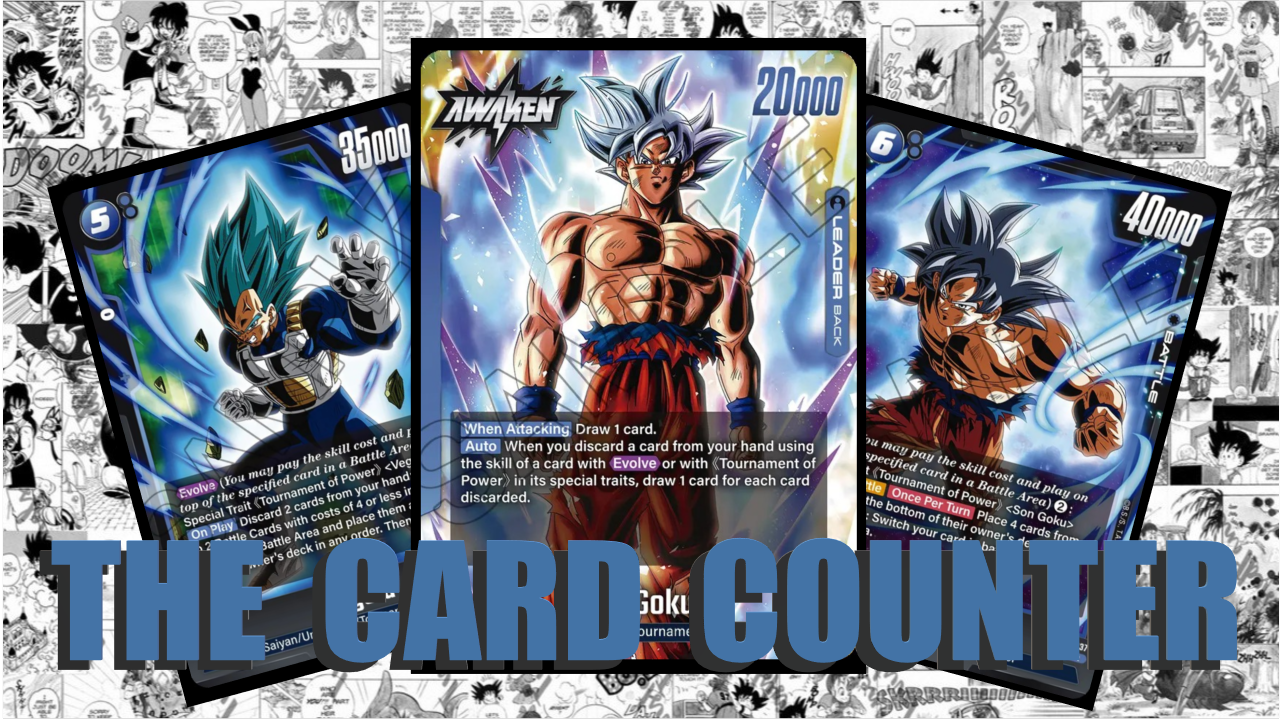
FS11-06 Goku: Provides flexibility due to the cheap evolve, but adds to the combo shortage problem.
Ratio Adjustments
FB09-082 Goku/Vegeta: Build-dependent. Adds flexibility, but the count depends on how many other 0 combo cards you run.
FS08-15 Results of Training: Playstyle-dependent. Helps survival immensely, but if you max out your energy every turn, it’s just a dead card in hand.
📈 Meta
FB02-136 Blue Power Awakening: My build doesn't use it, but this is the card that answers the large cards coming down in this meta.
🎥 Gameplay
Digital
FB09
Free
d1448739-a7cb-4e83-9035-c27e015cc7cf - brogeta; god (youtube)
3db543ea-9a19-4f48-a2c1-945783d68aa3 - shenron; master
c48d888d-6fbe-404f-8e85-cb06cd92bc8f - beasthan; master (youtube)
Ranked
847b3d47-7eb4-4eda-9939-d439d8fe6558 - kiogeta; god (youtube)
7e2f829e-acab-45e9-8523-b8a5fc21ebb7 - muiku; god (youtube)
3f1b5be4-3a6f-4715-b53f-40b74d365f65 - brogeta; master (youtube)
db995795-07ec-4a9c-becf-81366adb8306 - ulthan; god (youtube)
Youtube
📃 List
💬 Personal Notes
I skipped this deck for a long time. I mostly tried it at release and when I was preparing this guide. It clearly exceeded my imagination in terms of what it’s capable of. At one point, I actually avoided it because it became the #1 top-tier deck.
At the same time, I think it’s enjoyable to play. There are always multiple options to choose from, different builds can be applied, and above a certain level, good decision-making and proper strategy are required, you cannot solve the game through raw power alone. I like the other yellow deck this season more though.
🔑 Legend
Icons
Type: 🗡️ Aggro | 🏹 Midrange | 🛡️ Control | 🔗 Combo
Tempo: 🐌 Slow | 🐇 Medium | 🦅 Fast
Difficulty
🧠: Beginner-friendly, perfect even for your first game.
🧠🧠: Easy; requires attention to a few small details, but follows a simple and clean strategy.
🧠🧠🧠: Requires learning, but becomes routine after sufficient practice.
🧠🧠🧠🧠: Requires a deep knowledge of both your own deck and the opponent's; demands situation-dependent decision-making.
🧠🧠🧠🧠🧠: Demands perfect play in both decision-making and execution through complex sequences.
Competitiveness
🔥: Unplayable; does not perform under any circumstances.
🔥🔥: Underperforms; highly dependent on favorable circumstances.
🔥🔥🔥: Performs well; perfect for casual play, but at a clear disadvantage against dominant decks.
🔥🔥🔥🔥: Suitable for competitive play; in theory, a skilled player can hold their own against anything.
🔥🔥🔥🔥🔥: Dominant; a typical "boogeyman" deck that everyone hates to face.
Glossary
Aggro: A strategy that ignores the opponent's game plan with the goal of ending the match as quickly as possible, in this case through relentless attacks.
Midrange: A strategy that seeks a middle ground, attempting to balance the tempo. It tries to slow down fast decks and outpace slow decks. Board control is a vital tool here.
Control: A strategy entirely focused on neutralizing the opponent's plays. It settles in for a long, slow game where the goal is to bleed the opponent out of resources.
Combo: A strategy that aims to win (or at least cause a radical shift in the game state) through the synergy of specific cards, often appearing to come out of nowhere. The goal is to gather the necessary components and fulfill the prerequisites as quickly as possible.